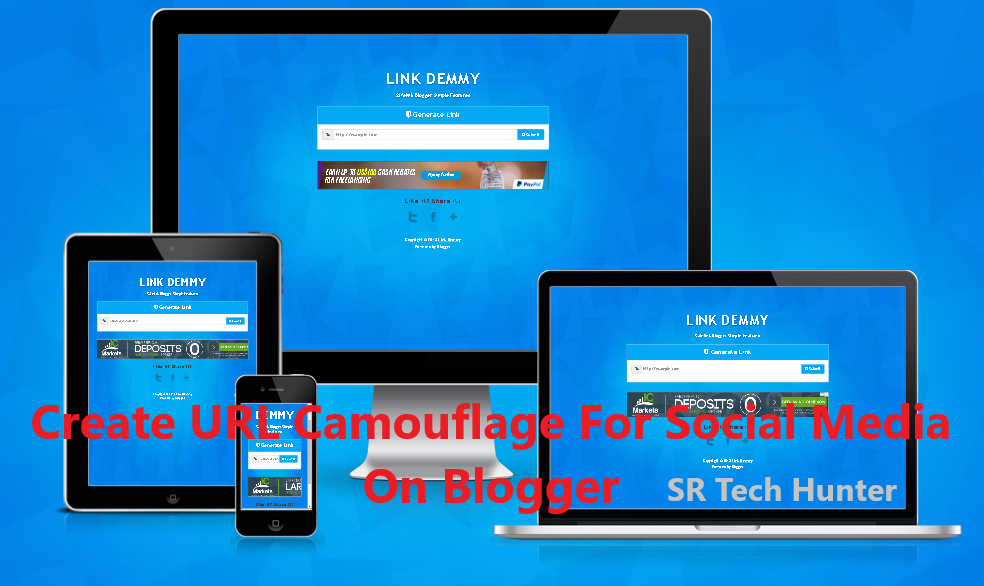
Download URL SafeLink Blogger Template For Free With Installation Guide

Lots of people ask how to create a URL shortener website using blogger for free? Well, it's not possible making a URL shortener website using blogger in common sense but you can make a URL camouflage website that will function as a URL shortener website to some extent. Though some people like to call it a Blogger URL shortener website, I call it a safe URL generator or Safelink Blogger website. For Example, you are an affiliate marketer and you want to share your affiliate tracking link on social which looks like something "track2.qltrk.com/l/agree/fgh-jghdf". Unfortunately, Facebook doesn't allow such links as well as some other site. You might have tried some URL shortener website but still no benefit of use. Here, Blogger's URL Safelink or Camouflager comes to the scene. You can camouflage your link and will be able to share on Facebook Easily, even if Facebook has already blocked domain of original link.
Key Features of Safelink
- Shareable on Social While Some URL Shorteners Aren't Allowed
- Fast Loading, Customizable
- Responsive, User-Friendly
- Show Maximum Ads in the Homepage to Boost Revenue
- Show Maximum Ads in the Decryption Page Boost Revenue
- Random Link Generation With Base64 Encryption.
- Full Page Script or Auto Safelink With Random Posts When Refreshed (Advance)
So why use other's Blogger URL Safelink when you can have your own? Download the theme and start your own URL camouflager now.
Installation Guide
Here I wrote down the installation process in small steps so anyone could easily make a safelink website in Blogger- Visit Blogger Dashboard
- Go to Themes from the Sidebar
- Then Click Edit HTML Button
- Then Paste All the Codes From the Downloaded File in Theme Editor
- Then Click on Save Theme Button
- Now go to All Posts from Sidebar and Click New Post Button
- Then create an interesting jigh eCPM post to put Ads in post.
- Then Put the Codes below After 3-4 Lines or a paragraph inside the post.
- Now Put These Code 5-6 Lines before End of Article
- Don't Forget to Replace <!-- Ad Space --> with Your Ad Codes
<div id="timer"></div>

<div class="text-center">

<button id='getlink' class='btn bt-success hidden' disabled=''>Get Link</button>

<!-- Ad Space -->

</div>
<div class="text-center">
<button id='gotolink' class='btn bt-success hidden' disabled=''>Go to Link</button>
<div style='margin:auto;display:inline-block'>
<!-- Ad Space -->
</div>
</div>
Show Random Post
- Go to Dashboard, Then Chose Theme
- Click on Edit HTML Button
- Copy and Paste These Codes before </body>
- Change 6305273983088860502 With Your Blog ID
- Click on Save Theme Button
<script type="text/javascript">
var setting = {
pengecualianstatus : true,
pengecualian : "google.com,twitter.com,javascript:;,mailto:",
hanyauntukstatus : false,
hanyauntuk : "githubusercontent.com", //use ::withpath for autolink specific path exampe.com/download/::withpath
path : "#?o="
};
</script>
<script type="text/javascript" src='https://cdn.statically.io/gh/riedayme/bloggercode/master/js/autoreplacebyfeednew.js'></script>
<script src="https://www.blogger.com/feeds/6305273983088860502/posts/default?alt=json-in-script&max-results=13&callback=showurl"></script>
Inserting Ads
You can put ads as much as you want, but there's already reserved ad space. Make sure you changed the visibility. I have write down some ad place and their recommend size below.- Top Homepage Ads (Recommended Size 468x600 or 728x90)
- Bottom Homepage Ads (Recommended Size 468x60 or 728x90)
- Left Post Ads (Recommended Size 160x600)
- Right Post Ads (Recommended Size 160x600)
- Ad Space (Ads in Post, Recommended Size 300x250, 250x250, 320x60 or Any Adaptive Size)
Customization Guide
- Find timerSeconds: 30, Replace 30 With Waiting Time. (i.e: 15 for 15 Seconds)


Drive link kaj kore na... Terabox link den
Please Check! We Have Updated Drive Link. Still Can't Download? Join Our Telegram Channel And Request There, We'll Send It To Your Personal Inbox.
Telegram: https://t.me/techlegionbd